
GOAL:
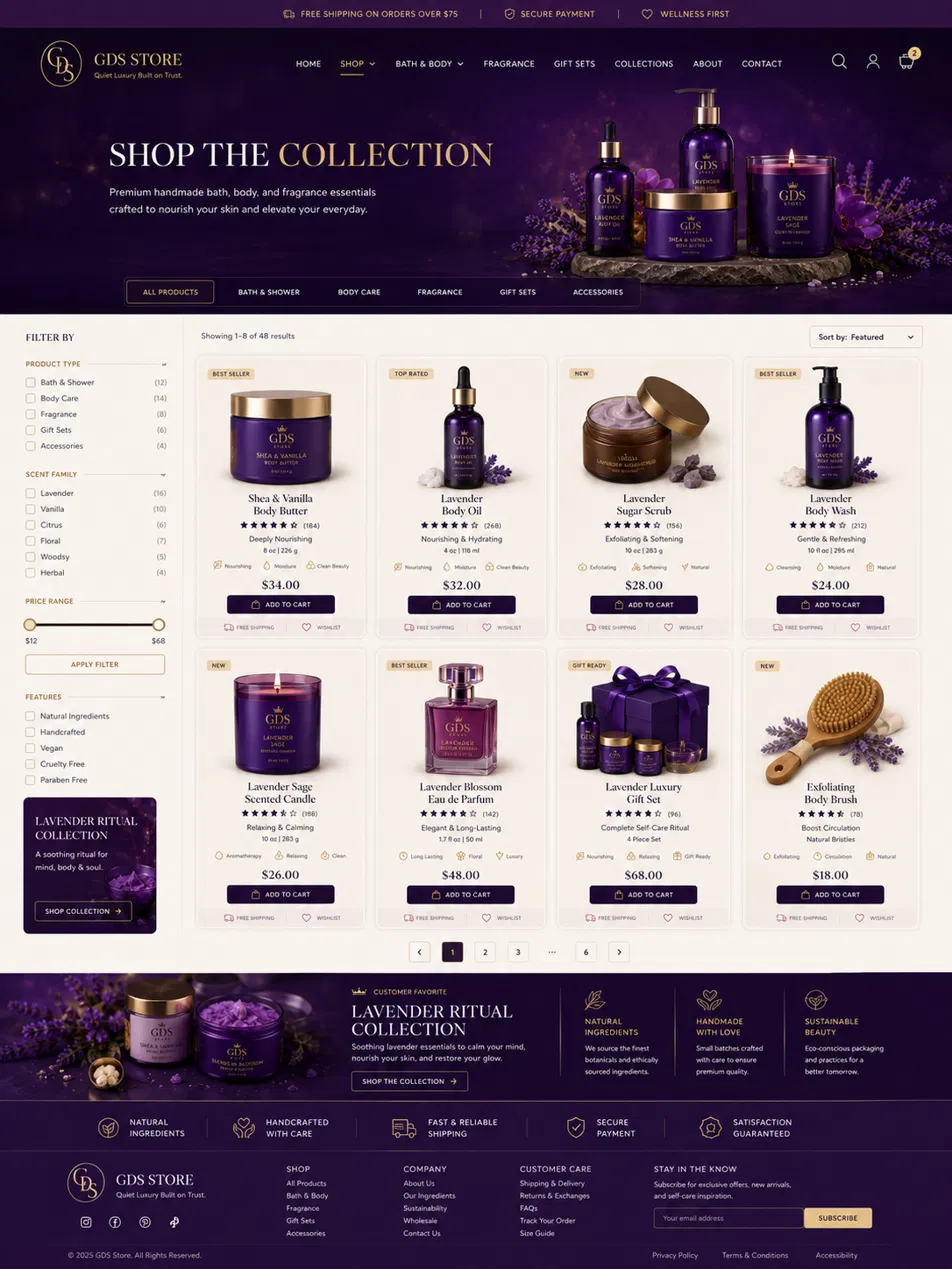
Building the GDS Store Shop Page in Avada — Step-by-Step
This guide walks through recreating the shop-template.html mockup as a real WooCommerce Shop Archive layout using Avada Theme Builder + Fusion Builder. Pair it with avada-woocommerce-custom.css (paste that into Theme Options
Custom CSS once the structure below is in place).
1. Set up product data first
Before touching layout, make sure the underlying WooCommerce data exists:
- Product attributes: create “Scent Family” as a custom product attribute (Products > Attributes) with terms Lavender, Vanilla, Citrus, Floral, Woodsy, Herbal — this powers the sidebar filter.
- Product categories: Bath & Shower, Body Care, Fragrance, Gift Sets, Accessories.
- Custom fields for badges: “Best Seller,” “New,” “Top Rated,” “Gift Ready” aren’t native WooCommerce concepts. Easiest approach: create a custom taxonomy or just use a plugin like “Product Labels for WooCommerce” — this saves you writing custom PHP.
2. Create the Shop Archive layout in Theme Builder
- Go to Avada > Theme Builder
- Click Add New Layout Section > choose WooCommerce Shop Archive (this targets the main product listing page, distinct from single product pages)
- Set the Display Conditions to “Shop Page” (and optionally product category archives if you want the same layout everywhere products list)
- Click Edit Layout Section to open Fusion Builder
3. Build the layout top-to-bottom in Fusion Builder
A. Announcement bar
Use Avada’s built-in Top Bar (Theme Options > Top Bar) rather than building this in Fusion Builder — it’s simpler and already sticky-capable. Set background to #1c0f1e and add your three messages as a Fusion Builder Text element inside it, centered.
B. Header
This is global (Theme Options > Header), not part of the Shop Archive layout. Set:
- Header background:
#2a1830 - Logo: upload the GDS ring mark
- Menu: Primary Menu, text color
#e9e0ec, hover/active#c9a961
C. Hero section
- Add a Container (full width)
- Container Background: choose Gradient, colors
#1c0f1eto#4a2c52, angle ~120deg - Add a Container CSS Class:
hero-shop(this is what the custom CSS file targets) - Inside, add 2 Columns (1/2 + 1/2):
- Left column: Fusion Title element (for “Shop the Collection” — wrap “Collection” in a
<span class="accent-word">via the Title element’s text editor in HTML view) + a Text Block for the supporting copy - Right column: a Fusion Slider or simple Image element with your product hero photography once available (placeholder is fine for now)
- Left column: Fusion Title element (for “Shop the Collection” — wrap “Collection” in a
D. Quick category row
- Add another full-width Container, background
#1c0f1e, CSS classquick-cats - Use a Fusion Builder Menu Anchor + Icon List (or simplest: a Text Block with manually styled
<a>tags) linking to each product category archive
E. Main shop area (sidebar + product grid)
This is the trickiest part because WooCommerce’s shop loop is a shortcode output, not something you drag element-by-element. Two approaches:
Approach 1 (recommended) — Avada’s native sidebar + shop loop
- In the Shop Archive layout, add a Container set to use the Sidebars layout option (Container > Layout > choose a column split like 1/4 + 3/4)
- Left column: insert the Sidebar element (Fusion Builder > Sidebars
choose or create a “Shop Filters” sidebar), then in Appearance > Widgets add these widgets to that sidebar:
- Filter Products by Attribute (Scent Family)
- Filter Products by Price
- A custom Text/HTML widget for the promo box (paste your own HTML matching the
.promo-boxclass from the CSS file)
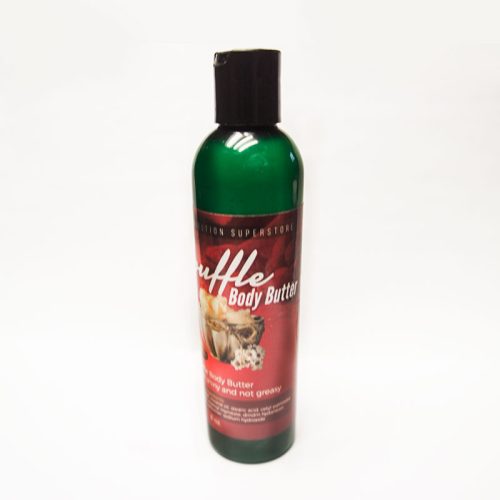
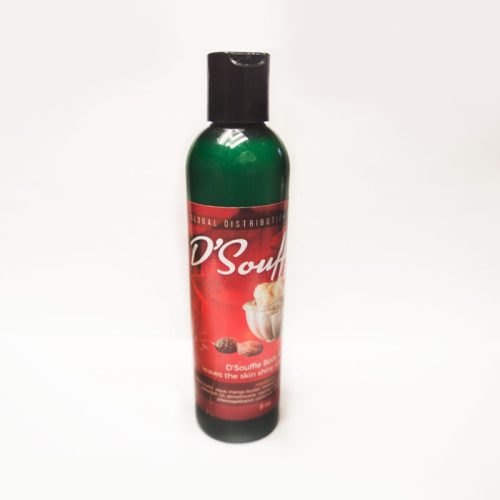
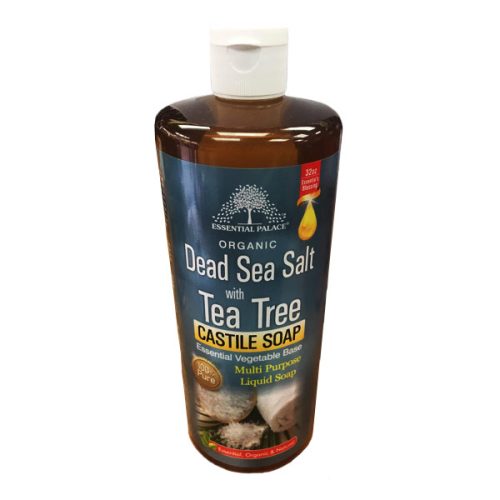
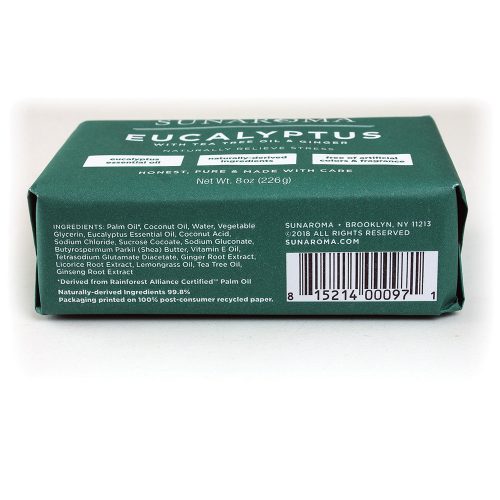
- Right column: insert the Woo Shop Archive Fusion Builder element (this renders the actual













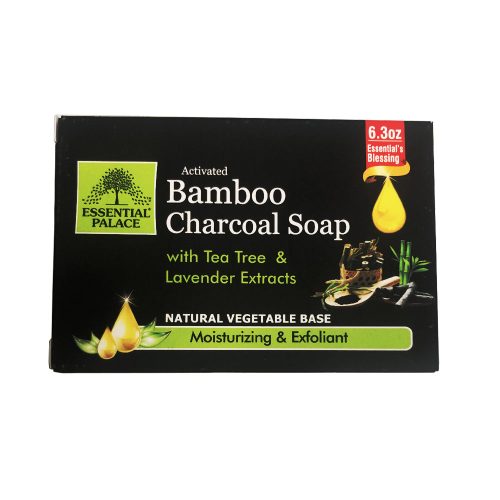
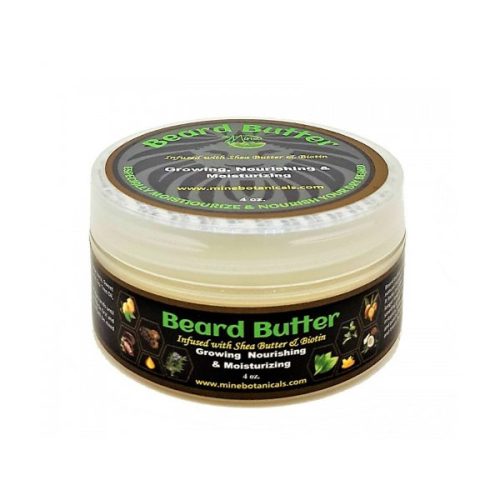
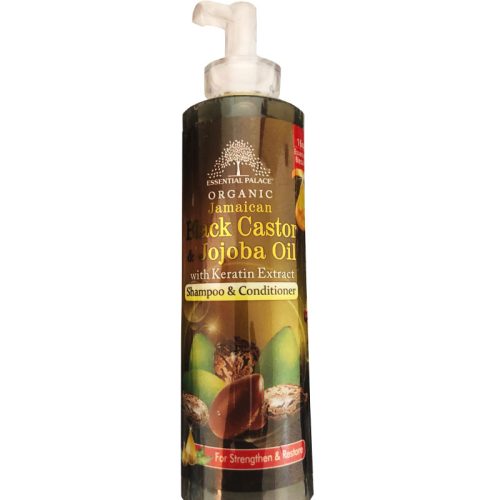












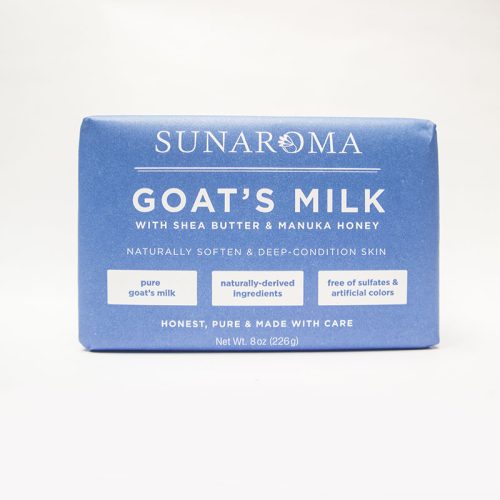
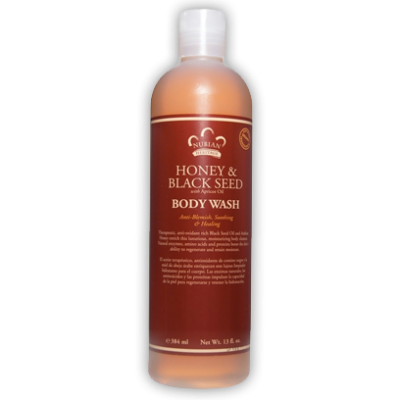

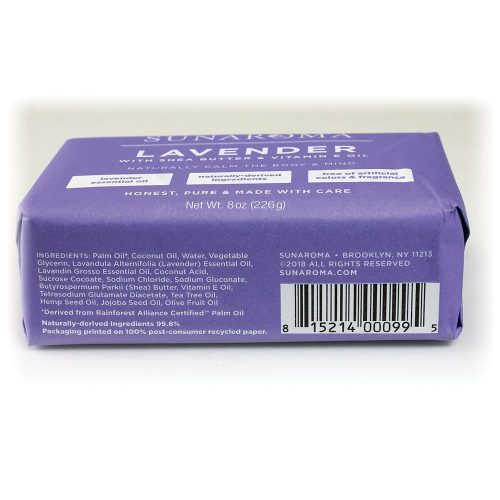
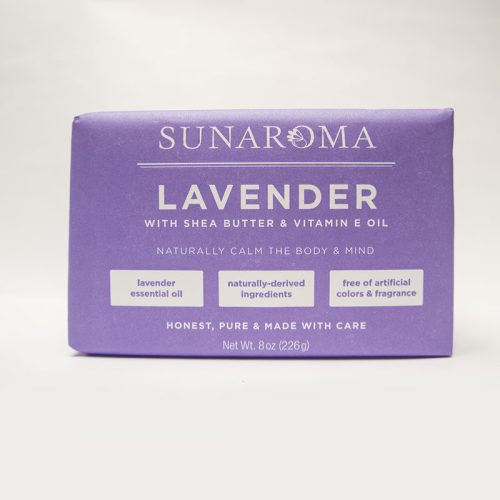

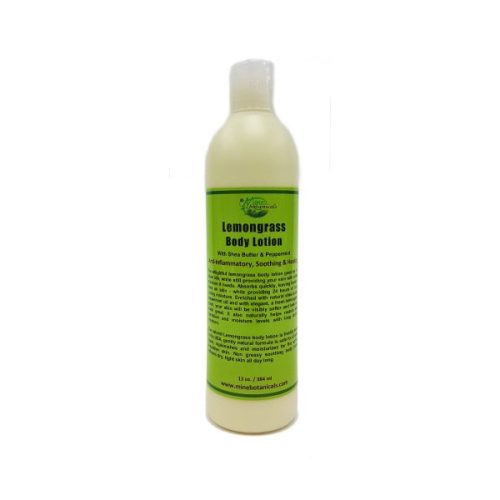





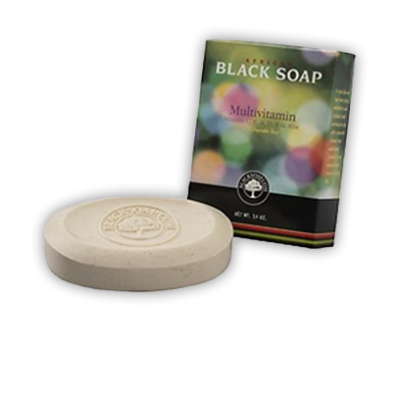
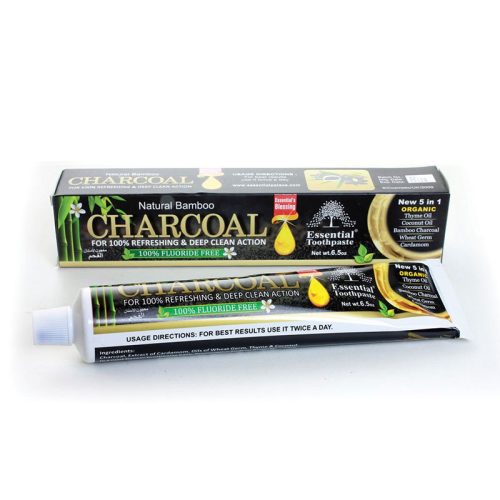
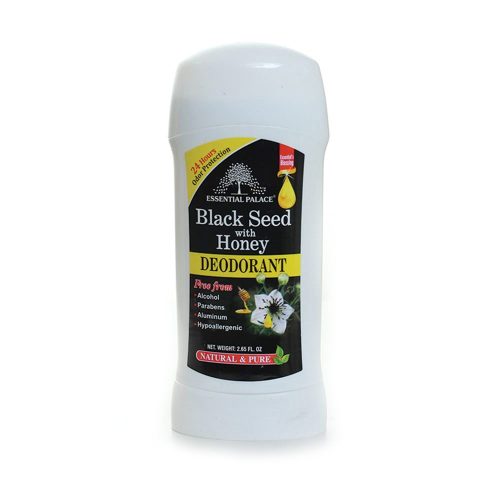

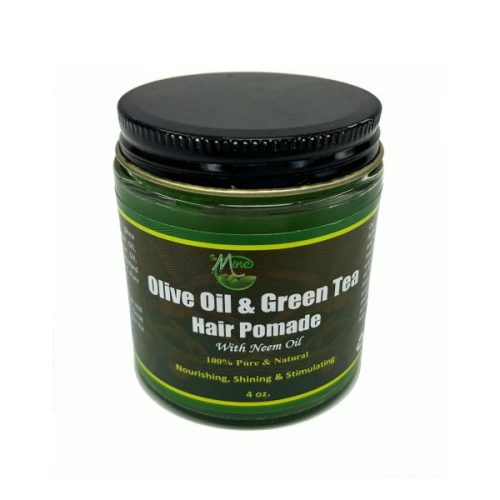
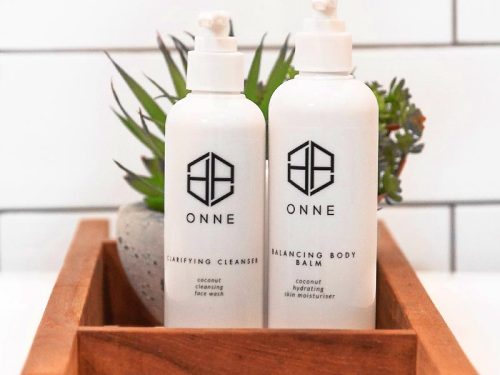









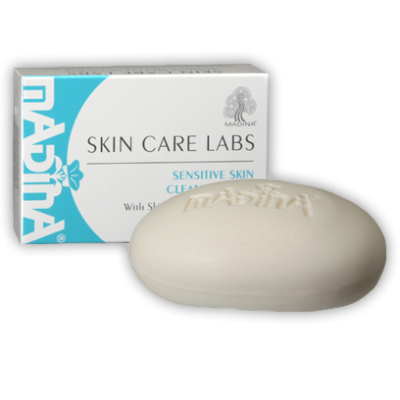
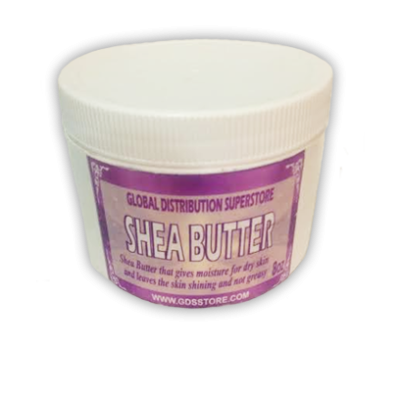


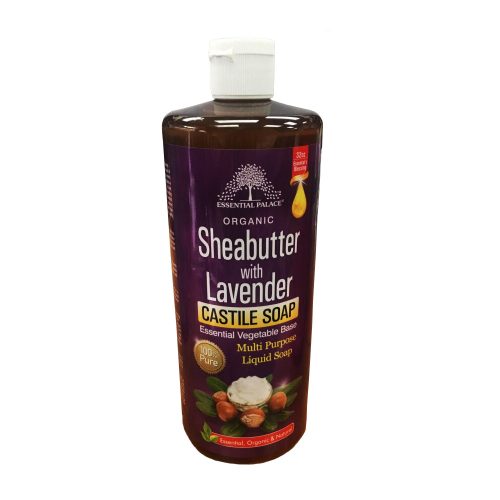





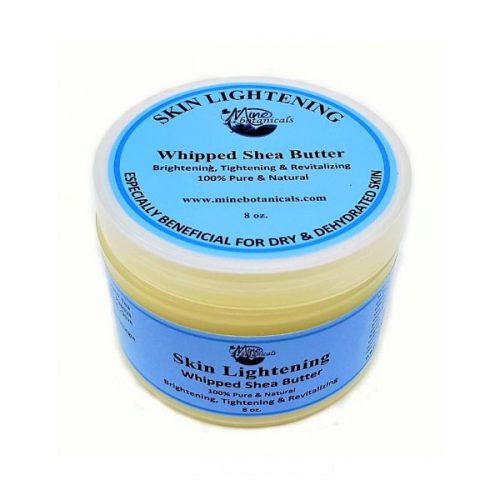
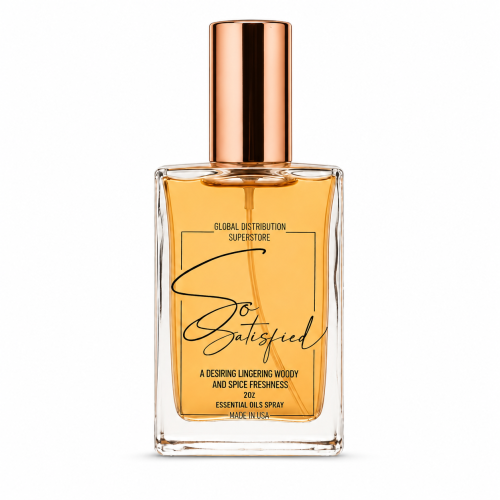



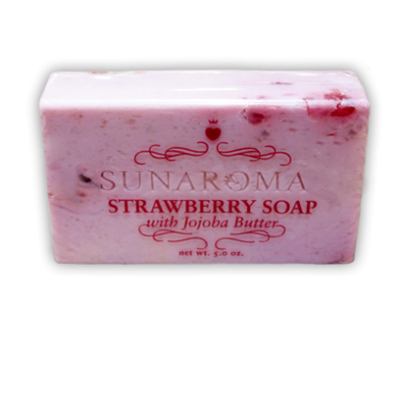
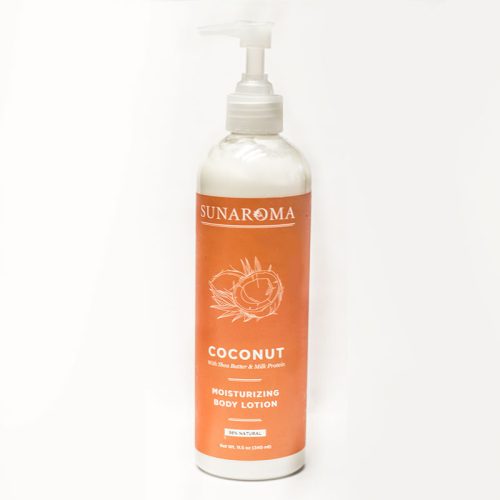
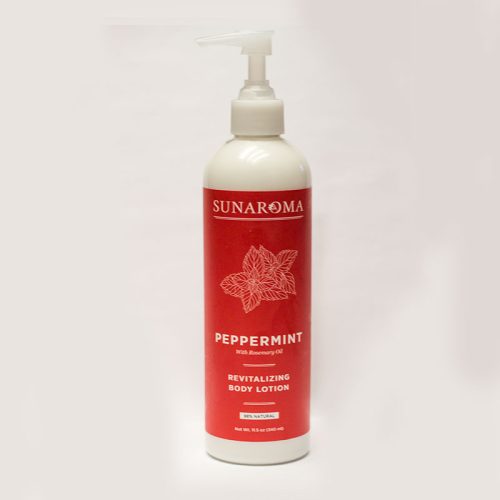

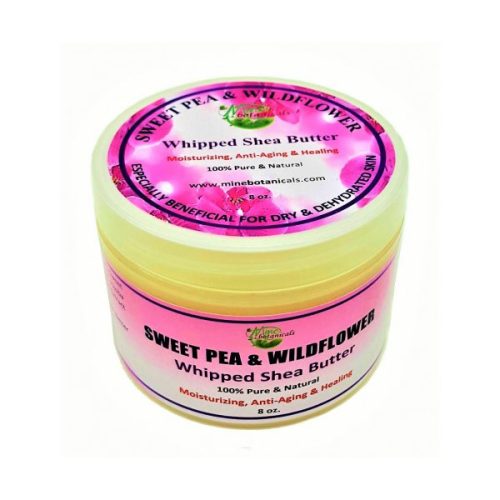
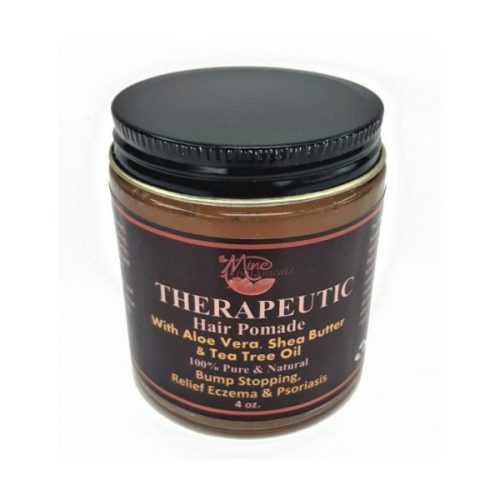
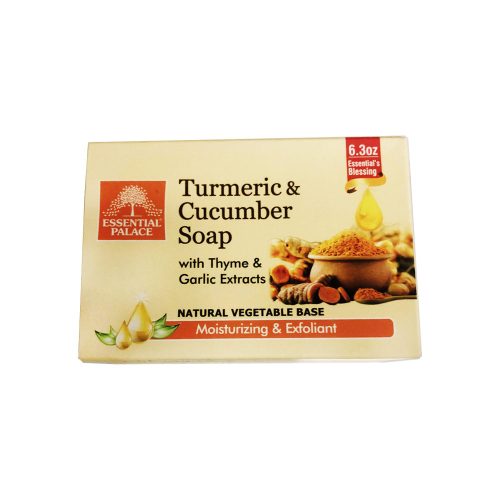




Approach 2 — Fully custom loop If you need the exact card markup (badges, custom tag rows) beyond what CSS alone can achieve, this requires a child theme + a custom content-product.php template override. Only go this route if the badge/label plugin approach in Step 1 doesn’t get you far enough visually — it’s meaningfully more dev work.
F. Feature banner (Lavender Ritual Collection)
- Add a full-width Container, gradient background
#1c0f1eto#3a2140, CSS classfeature-banner - 2 columns (roughly 1.1fr / 1.6fr — Fusion Builder lets you set custom flex ratios in column settings)
- Left: Image element (or colored placeholder box)
- Right: Title, Text Block, and a Button element styled as the gold outline CTA
G. Trust strip
- Full-width Container, background
#2a1830, CSS classtrust-strip - Icon List element, 5 items horizontally, icons + short labels (Natural Ingredients, Handcrafted With Care, Fast & Reliable Shipping, Secure Payment, Satisfaction Guaranteed)
H. Footer
Global element (Theme Builder > Footer layout, separate from the Shop Archive layout you’re building here). Structure as 5 columns: brand + social icons, Shop links, Company links, Customer Care links, Newsletter signup (use Avada’s MailChimp/Newsletter element or a simple form plugin for the subscribe box).
4. Apply the custom CSS
- Go to Avada > Theme Options > Custom CSS
- Paste the full contents of
avada-woocommerce-custom.css - Save & Publish — Avada will minify/cache this into its dynamic CSS file automatically
5. Test checklist before handing off to your client
- [ ] Shop page loads with 4-column grid on desktop, collapses to 2 on tablet, 1 on mobile (check Avada’s responsive preview)
- [ ] Sidebar filters actually narrow results (test attribute + price filter)
- [ ] Add to Cart buttons work and update the header cart count
- [ ] Badges (if using a plugin) display correctly on the intended products only
- [ ] Newsletter form in the footer submits without error
- [ ] Color contrast holds up — gold text on the plum backgrounds should stay legible at all breakpoints
Notes on maintainability
Keep the CSS custom properties (--plum-900, --gold, etc.) at the top of the custom CSS file as the single source of truth for brand colors. If the client ever wants to shift the palette slightly, you only edit those ~10 variables rather than hunting through every rule.